


Background
Being creative is hard, but thinking of a fantastic idea is even more challenging. And once you've done that, the hardest part is expressing that idea in an attractive way.
This, I think, is the very reason why templates are gaining popularity in text, image, audio, and video editing, and more. Of all these templates, video templates are probably the most in demand by users. This is because a video is a lengthy creation which may also require high costs. And therefore, it is much more convenient to create a video using a template, rather than from scratch — which is particularly true for video editing amateurs.
The video template solution I have got for my app is a template capability of HMS Core Video Editor Kit. This capability comes preloaded with a library of templates that my users can use directly to quickly create a short video, make a vlog during their journey, create a product display video, generate a news video, and more.
On top of this, this capability comes with a platform where I can manage the templates easily, like this.
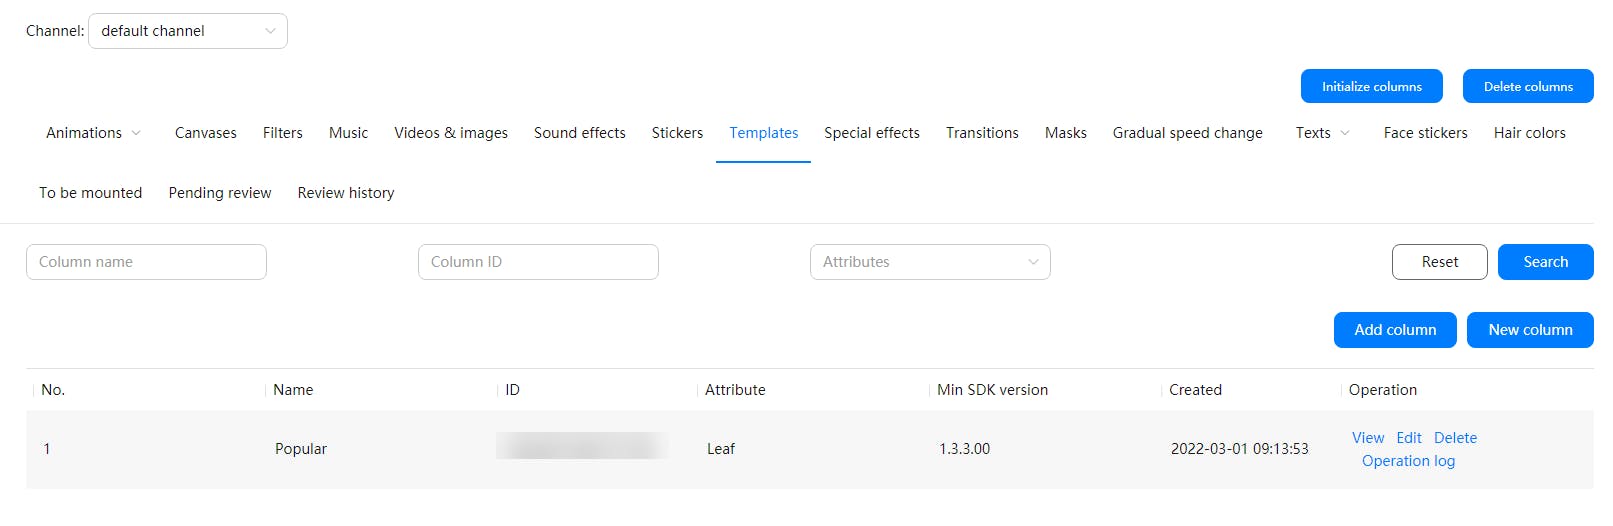 Template management platform — AppGallery Connect
To be honest, one of the things that I really like about the capability is that it's easy to integrate, thanks to its straightforward code, as well as a whole set of APIs and relevant description on how to use them. Below is the process I followed to integrate the capability into my app.
Development Procedure
Preparations
1) Configure the app information.
2) Integrate the SDK.
3) Set up the obfuscation scripts.
4) Declare necessary permissions, including: device vibration permission, microphone use permission, storage read permission, and storage write permission.
Project Configuration
Setting Authentication Information
Set the authentication information by using:
An access token. The setting is required only once during app initialization.
MediaApplication.getInstance().setAccessToken("your access token");Or, an API key, which also needs to be set only once during app initialization.
MediaApplication.getInstance().setApiKey("your ApiKey");Configuring a License ID
Since this ID is used to manage the usage quotas of the service, the ID must be unique. MediaApplication.getInstance().setLicenseId("License ID");
Initialize the runtime environment for HuaweiVideoEditor. During project configuration, an object of HuaweiVideoEditor must be created first, and its runtime environment must be initialized. When exiting the project, the object shall be released. 1) Create a HuaweiVideoEditor object.
HuaweiVideoEditor editor = HuaweiVideoEditor.create(getApplicationContext());
2) Specify the preview area position. Such an area renders video images, which is implemented via SurfaceView created within the SDK. Before creating this area, specify its position first.
<LinearLayout
    android:id="@+id/video_content_layout"
    android:layout_width="0dp"
    android:layout_height="0dp"
    android:background="@color/video_edit_main_bg_color"
    android:gravity="center"
    android:orientation="vertical" />
// Specify a preview area.
LinearLayout mSdkPreviewContainer = view.findViewById(R.id.video_content_layout);

// Set the preview area layout.
editor.setDisplay(mSdkPreviewContainer);
3) Initialize the runtime environment. LicenseException will be thrown, if the license verification fails.
When a HuaweiVideoEditor object is created, no system resources have been used. Manually set the time when its runtime environment is initialized, and required threads and timers will be created in the SDK.
try {
        editor.initEnvironment();
   } catch (LicenseException error) {
        SmartLog.e(TAG, "initEnvironment failed: " + error.getErrorMsg());
        finish();
        return;
   }
Capability Integration
In this part, I use HVETemplateManager to obtain the on-cloud template list, and then provide the list to my app users.
// Obtain the template column list.
final HVEColumnInfo[] column = new HVEColumnInfo[1];
HVETemplateManager.getInstance().getColumnInfos(new HVETemplateManager.HVETemplateColumnsCallback() {
        @Override
        public void onSuccess(List<HVEColumnInfo> result) {
           // Called when the list is successfully obtained.
           column[0] = result.get(0);
        }

        @Override
        public void onFail(int error) {
           // Called when the list failed to be obtained.
        }
});

// Obtain the list details.
final String[] templateIds = new String[1];
// size indicates the number of the to-be-requested on-cloud templates. The size value must be greater than 0. Offset indicates the offset of the to-be-requested on-cloud templates. The offset value must be greater than or equal to 0. true indicates to forcibly obtain the data of the on-cloud templates.
HVETemplateManager.getInstance().getTemplateInfos(column[0].getColumnId(), size, offset, true, new HVETemplateManager.HVETemplateInfosCallback() {
        @Override
        public void onSuccess(List<HVETemplateInfo> result, boolean hasMore) {
           // Called when the list details are successfully obtained.
           HVETemplateInfo templateInfo = result.get(0);
           // Obtain the template ID.
           templateIds[0] = templateInfo.getId();
        }

        @Override
        public void onFail(int errorCode) {
           // Called when the list details failed to be obtained.
        }
});

// Obtain the template ID when the list details are obtained.
String templateId = templateIds[0];

// Obtain a template project.
final List<HVETemplateElement>[] editableElementList = new ArrayList[1];;
HVETemplateManager.getInstance().getTemplateProject(templateId, new HVETemplateManager.HVETemplateProjectCallback() {
        @Override
        public void onSuccess(List<HVETemplateElement> editableElements) {
           // Direct to the material selection screen when the project is successfully obtained. Update editableElements with the paths of the selected local materials.
           editableElementList[0] = editableElements;
        }

        @Override
        public void onProgress(int progress) {
           // Called when the progress of obtaining the project is received.
        }

        @Override
        public void onFail(int errorCode) {
           // Called when the project failed to be obtained.
        }
});

// Prepare a template project.
HVETemplateManager.getInstance().prepareTemplateProject(templateId, new HVETemplateManager.HVETemplateProjectPrepareCallback() {
        @Override
        public void onSuccess() {
            // Called when the preparation is successful. Create an instance of HuaweiVideoEditor, for operations like playback, preview, and export.
        }
        @Override
        public void onProgress(int progress) {
            // Called when the preparation progress is received.
        }

        @Override
        public void onFail(int errorCode) {
            // Called when the preparation failed.
        }
});

// Create an instance of HuaweiVideoEditor.
// Such an instance will be used for operations like playback and export.
HuaweiVideoEditor editor = HuaweiVideoEditor.create(templateId, editableElementList[0]);
try {
      editor.initEnvironment();
} catch (LicenseException e) {
      SmartLog.e(TAG, "editor initEnvironment ERROR.");
}
Conclusion
An eye-catching video, for all the good it can bring, can be difficult to create. But with the help of video templates, users can create great-looking videos in even less time, so they can spend more time creating more videos.
This article illustrates a video template solution for mobile apps. The template capability offers various out-of-the-box preset templates that can be easily managed on a platform. And what's better is that the whole integration process is easy. So easy in fact even I could create a video app with templates.